Sunday 15 July 2012


Made using my mask tutorial. See previous post.

Photos of Gladstone Harbour -coal loading facilities- day and night.
Creating a photo mask: by Sandie03

A mask works by selecting some parts and eliminating other parts of any photo it is combined with. Black mask selects from the photo/text; white eliminates or subtracts from the photo.

Making a mask can be done many ways. This is my simple version using text, brushes and shapes.

1. Open any basic shape. I used a rounded edge rectangle.


2. Choose a fancy block font. On a new layer type some text eg Summer. Move the new layer to position it so it just overlaps the top (or bottom ) of the shape. Resize to fit the shape.


3. Select a flower/ foliage/ star brush. On a new layer stamp/brush several flowers around the plain edges of the shape. Repeat with other flower, foliage, or stars brushes. (I put each brush on a new layer so I can delete easily if I need to.)


4. Now select all the layers and merge into one layer.(CTRL-E)


5. Create a new layer below the merge layer and fill with black.


6. Return to merge layer and select the outer edge of the shape (moving ants) (Magic wand tool)
7. Go to the black layer. Use CTRL-J to create a copy of the shape selection from the
black layer.


8. This black shape is your new mask. Crop to the mask. Save just this layer as a new .png document.
9. Apply this mask to a photo ( use CTRL-Alt_G in Photoshop). Merge layers if desired.

Saturday 16 June 2012

Current favourite pages digiscrapped

June has been a busy month for my digiscrapping- with Creative Team (PDW) duties and challenges, and writing a couple of tutorials for digiscrappers. (See previous post for one on creating and uploading a signature line.)
Here are a couple of my favourite pages from this month.


Blue eyes a challenge at Digital Scrapbooking Studio using a minikit and text paths by Feli: Blue Like that mini- my beautiful daughter aged 4, many years ago.


And the same person- see that same brilliant smile - a few years later.
This challenge at DigiDesignResort was again by Feli asking for the use of a text path (text in a shape). I used part of the DDR Designs May collab: Magic Breath, by J and M Creations.

Tuesday 12 June 2012

Creating and Uploading a scrapped signature line

Basics are the same whichever program you use: Photoshop, Elements, PSP, etc

They are: 1. Choose kit, 2. Scrap, 3. Resize and save, 4. Upload


1. CHOOSE KIT:
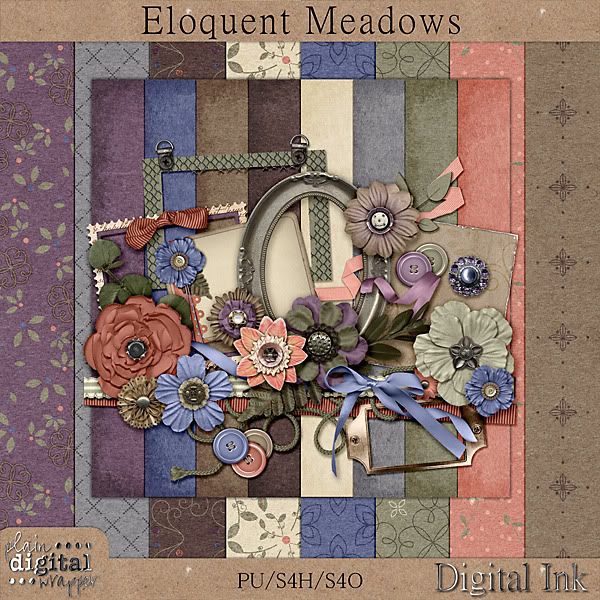
1. Choose the kit and alpha you want to use.
Check TOU to ensure designer allows you to make siggies (online items) with kit (Some will have restrictions)

2. SCRAP THE SIGGIE:
Open up 12x12 page, and scrap your name with alpha.
Align the letters if wanted, or go for a more random arrangement
Add / layer elements around the alpha as a cluster. Always choose at least one horizontal ribbon/ paperstrip/ string to draw eye across the siggie. Detailed or minimal is up to you. Add photo if wanted.
Add fine shadows as needed.
Add text layers: credit the kit designer here. Add any CTs, blogs, FB addresses.(Check the digital scrap site before uploading as each site differs in what external site info they allow on a siggie).

3. RESIZE AND SAVE
Crop your page to slightly larger than the signature.

Go to Image/ Image size and change this to maximum 500 x 200 (at PlainDigitalWrapper) (this varies on different sites). Save.


Save as a layered file. ( in case you need to make changes at different sites.)
Save as a jpg file for gallery showing.
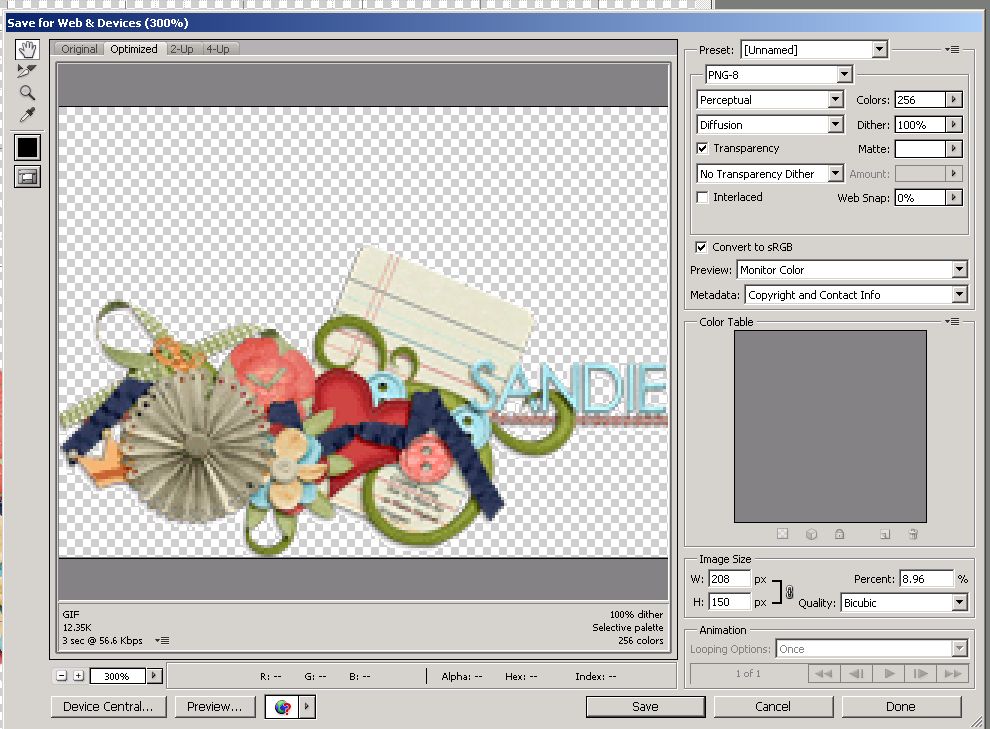
Save to web as a .png file ( no white background to show) for siggie. Save to web- choose type- PNG-8 , Tick Transparency, Tick constrain proportions, Save.


UPLOAD TO PDW as a signature: 2 options

Option 1: send the file to PhotoBucket or other photo host site first,

Copy the URL/ direct link at the host site

Option 2: keep the file on your computer and upload from there


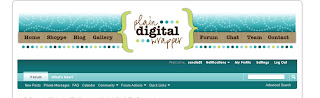
Open PDW Forum. On top darkest teal bar, choose SETTINGS.

Go to MY SETTINGS (left side) and select EDIT SIGNATURE.


Scroll to bottom of page and find Upload Signature Picture.


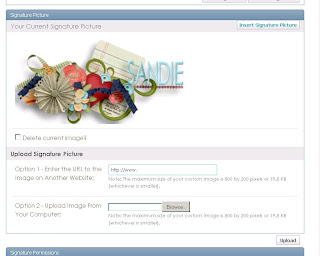
Either paste in URL/direct link from photo host site OR upload the png file directly from your computer.

Click UPLOAD button (bottom right)

Your Signature Picture should show in box.


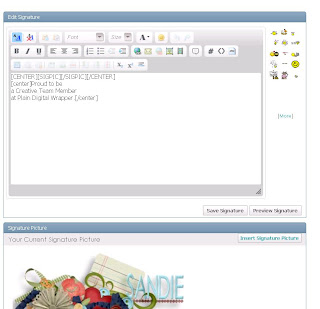
Go to box at the top where it says [sigpic][\sigpic]
Add any extra text you want on new lines beneath this. (eg: Love being at PDW)
All should work now.


Saturday 26 May 2012

Eloquent Meadows by Digital Ink


Another beautiful kit by Melissa Knopik who creates as the designer Digital Ink. This is called Eloquent Meadows and is very versatile. I'll be using this for my heritage layouts as it has soft, subtle textured plain papers and lovely elements, but the patterned papers are equally as beautiful and co-ordinate wonderfully with the plains.

Never too old to learn...

When visiting DST - Digital Scrap Talk - these days, the home page is like a blog with great articles which change daily. One I found a couple of days ago prompted this layout. It was a Portrait in Font/Text tutorial by Jennifer White (both written and in video format.
Basically, you make 3 brushes from words- one dark/heavy/bold, one light/faint/dainty and the third in between. These brushes are applied to an extracted, posterized, black and white portrait, each brush on a separate layer, which are then flattened into one layer. Add to a layout and adjust the opacity and it is done.


Here's mine using a lovely photo of Tracey in her teens, and the Welcome Kit from Plain Digital Wrapper. Newcomers to the PDW site can earn this huge colourful kit for free by posting a challenge layout, posting in the forum and commenting in the gallery. What a great joining bonus.

Go here for the information Welcome Kit


Wednesday 23 May 2012

4x Gallery Stand Out at PDW

I must be on a roll with my digiscrapping as I have earned 4 accolades- Gallery Stand Outs in the last 2 weeks at Plain Digital Wrapper.